Yes you read right! AspxFormsGen 4.0 Express is a free ASP.NET code generator software you can download absolutely free and with absolutely no catches. AspxFormsGen 4.0 Express
generates ASP.NET Web Forms, Code Behind, Middle-Tier code, and Data Tier Code (with empty spots where you can enter your own code) by reading your MS SQL Database. It generates an
ASP.NET 4.0 web site (so you know that all generated code works) in One Click.
Now that I'm done with my marketing spiel let's get on with the tutorial.
You will need the following things for this tutorial:
- Northwind Database
- Microsoft SQL Server
- You will need an Admin username/password or enough rights in the MS SQL Server. A blank username/password will not work.
- AspxFormsGen 4.0 Express
1. Download AspxFormsGen 4.0 Express here:
http:www.//junnark.com/Products/AspxFormsGen4/DownloadExpress.
2. Install it. Just follow all the prompts. If you need a tutorial go here:
http://junnark.com/Content/PDF/InstallationGuideForAspxFormsGen4.pdf
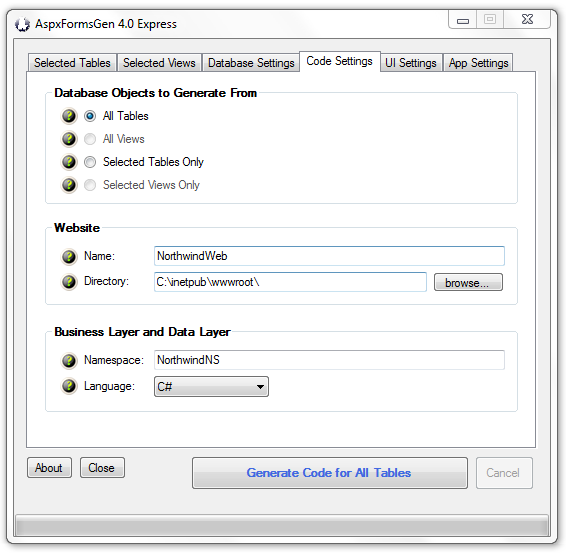
3. Open AspxFormsGen 4.0 Express and enter the following information shown in the snapshots below.
Note: Use your database's username and password instead of the one shown below.

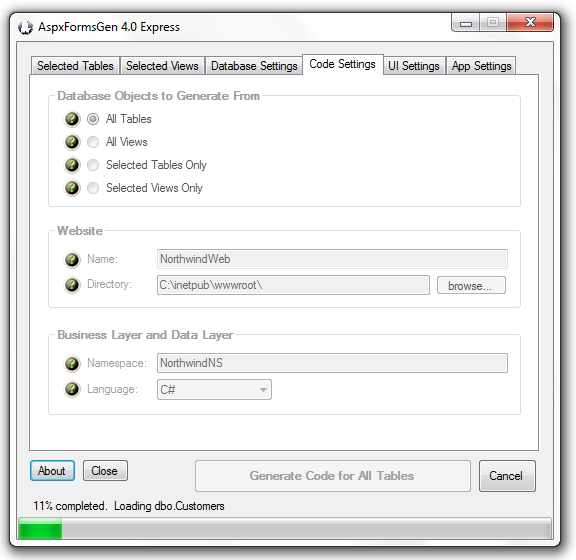
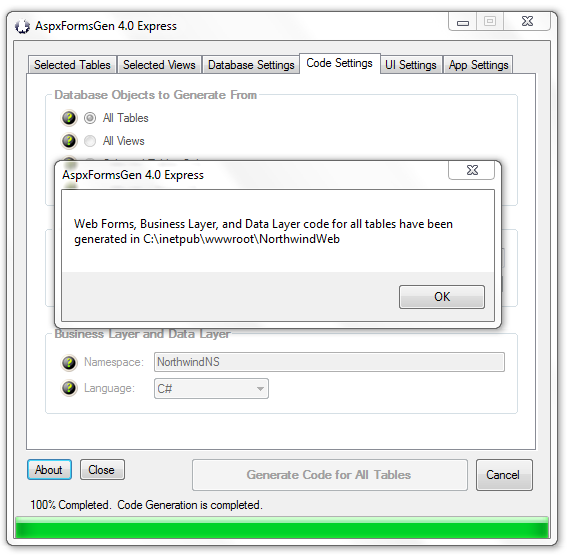
4. Click the "Generate Code for All Tables" button. AspxFormsGen 4.0 Express will start generating code and you will see a message once code generation is done.
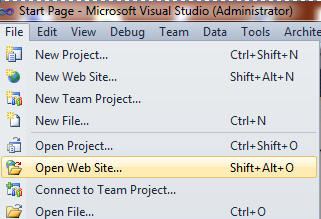
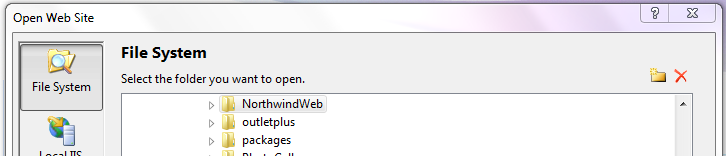
5. Close (or not) AspxFormsGen 4.0 Express. Then open Visual Studio 2010/2012, and then open the newly created Web Site.
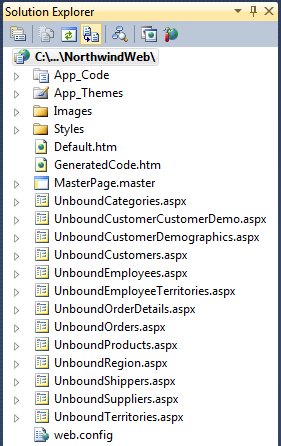
6. The Visual Studio Solution Explorer window shows all the generated ASP.NET code.
7. Run the web site by pressing F5.
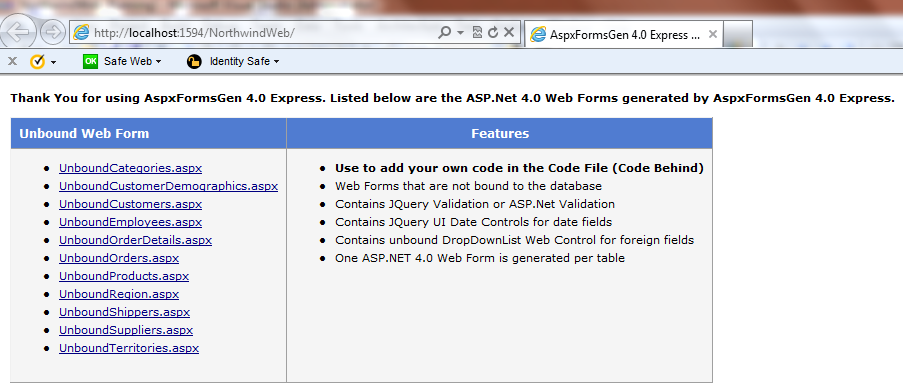
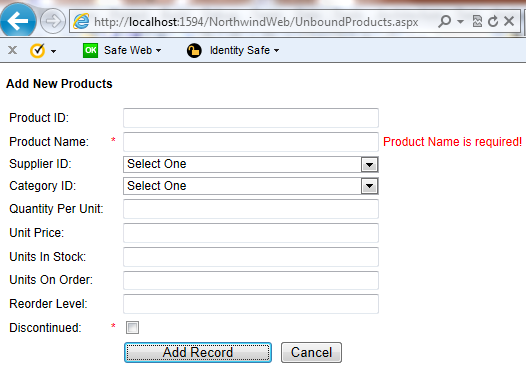
7. Click on one of the web page links. You will notice that each field in the Products table are
shown here. Foreign keys are also shown as a DropDownList web control. There's also validation, for example Product Name here is a
required field. Note: AspxFormsGen 40 Express generates Unbound (web forms that are not bound to a database) web forms only.
8. What you've seen so far are the generated Web Forms and their respective Code Behind. AspxFormsgen 4.0 Express also generated the Middle Tier
and Data Tier codes. To see the list of the generated the Middle Tier and Data Tier codes type in GeneratedCode.htm in the URL.
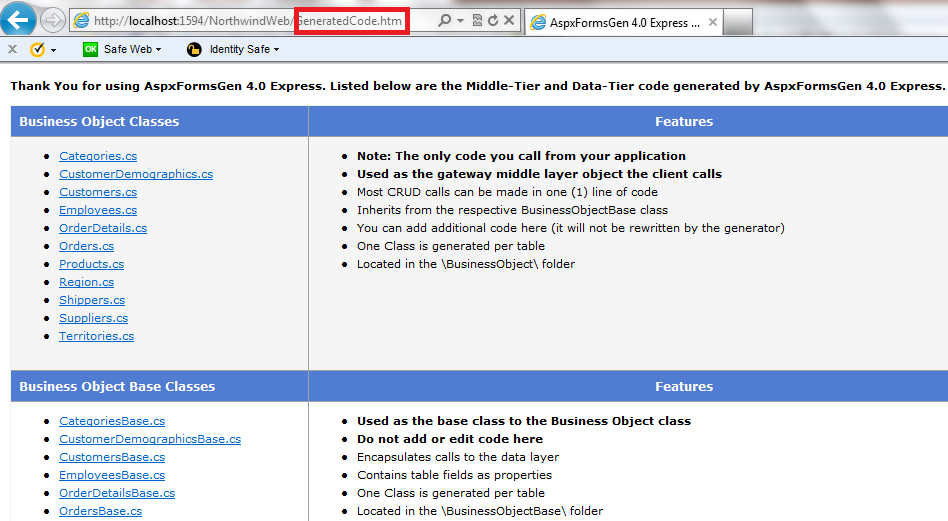
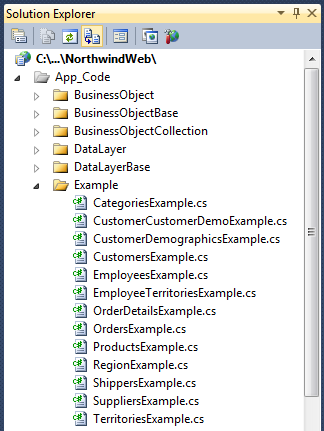
9. Close the web page and then go back to Visual Studio. The Middle-Tier (Business Objects) and Data-Tier (Data Layer) code is located in the
App_Code folder. AspxFormsGen 4.0 Express also generated example code for each CRUD (create, retrieve, update, delete) operation it generated. Easily
enough you can find all these code in the Example folder under the App_Code folder. Each table in your database should have a Class file.
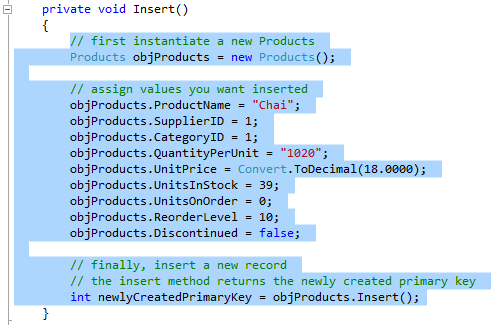
10. Let's bind the Web Form to the database by adding logic to the Code Behind file. Open the Class ProductsExample.cs (.vb) under the
Example folder and then copy the code from the Insert method to the Code Behind file Products.aspx.cs (.vb) BtnAddRecord_Click event.
Note: We will use a
Layering approach (3-tier, n-tier), so, the Web Form (Presentation Layer/Front End) will access the Products.cs (.vb) (Middle-Tier), and then the Product.cs will access
the ProductsDataLayer.cs (Data-tier) code. The Data Layer code would then access our database (MS SQL).
Products Example Class
 Products Example Insert Method
 Products Unbound Web Form Code Behind File (ProductsExample.cs)
using System;
using NorthwindNS.BusinessObject;

namespace NorthwindNS
{
    public partial class UnboundProducts : System.Web.UI.Page
    {
        protected void Page_Load(object sender, EventArgs e)
        {
        }

        protected void BtnAddRecord_Click(object sender, EventArgs e)
        {
            // first instantiate a new Products
            Products objProducts = new Products();

            // assign values you want inserted
            objProducts.ProductName = "Chai";
            objProducts.SupplierID = 1;
            objProducts.CategoryID = 1;
            objProducts.QuantityPerUnit = "1020";
            objProducts.UnitPrice = Convert.ToDecimal(18.0000);
            objProducts.UnitsInStock = 39;
            objProducts.UnitsOnOrder = 0;
            objProducts.ReorderLevel = 10;
            objProducts.Discontinued = false;

            // finally, insert a new record
            // the insert method returns the newly created primary key
            int newlyCreatedPrimaryKey = objProducts.Insert();
        }

        protected void BtnUpdateRecord_Click(object sender, EventArgs e)
        {
        }
    }
}
11. Change the constant values to the respective Web Control's values.
Note: Supplier ID and Category ID DropDownList have no values, make sure to add items to these controls.
// assign values you want inserted
objProducts.ProductName = TxtProductName.Text;
objProducts.SupplierID = Convert.ToInt32(DdlSupplierID.SelectedValue);
objProducts.CategoryID = Convert.ToInt32(DdlCategoryID.SelectedValue);
objProducts.QuantityPerUnit = TxtQuantityPerUnit.Text;
objProducts.UnitPrice = Convert.ToDecimal(TxtUnitPrice.Text);
objProducts.UnitsInStock = Convert.ToInt16(TxtUnitsInStock.Text);
objProducts.UnitsOnOrder = Convert.ToInt16(TxtUnitsOnOrder.Text);
objProducts.ReorderLevel = Convert.ToInt16(TxtReorderLevel.Text);
objProducts.Discontinued = CbxDiscontinued.Checked;
12. The code below accesses the ProductsDataLayerBase.cs (Data Layer) through the Middle Tier object.
BtnAddRecord_Click Event (Web Form/Presentation Tier)
// finally, insert a new record
// the insert method returns the newly created primary key
int newlyCreatedPrimaryKey = objProducts.Insert();
ProductBase.cs (Middle-Tier/Business Object)
public int Insert()
{
    Products objProducts = (Products)this;
    return ProductsDataLayer.Insert(objProducts);
}
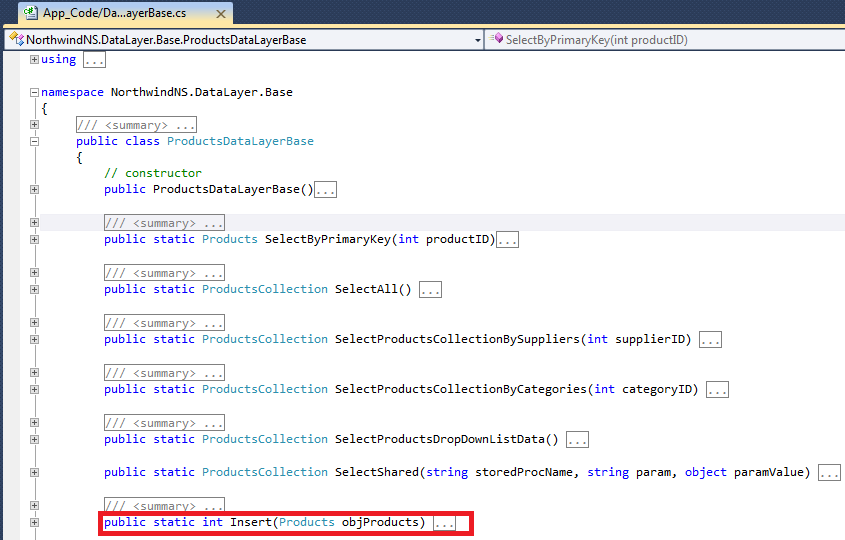
ProductDataLayerBase.cs (Data-Tier/Data Layer)
public static int Insert(Products objProducts)
{
    // add your code here
    throw new NotImplementedException();
}
12. You still need to add code in the ProductDataLayerBase.cs Insert method which will insert your passed values to the database.
public static int Insert(Products objProducts)
{
    // add your code here instantiate your own object

    // add your code here
    // assign values to your own object
    YourCodeToSaveValueToDbaseHere.Whatever = objProducts.ProductName;
    YourCodeToSaveValueToDbaseHere.Whatever = objProducts.SupplierID;
    YourCodeToSaveValueToDbaseHere.Whatever = objProducts.CategoryID;
    YourCodeToSaveValueToDbaseHere.Whatever = objProducts.QuantityPerUnit;
    YourCodeToSaveValueToDbaseHere.Whatever = objProducts.UnitPrice;
    YourCodeToSaveValueToDbaseHere.Whatever = objProducts.UnitsInStock;
    YourCodeToSaveValueToDbaseHere.Whatever = objProducts.UnitsOnOrder;
    YourCodeToSaveValueToDbaseHere.Whatever = objProducts.ReorderLevel;
    YourCodeToSaveValueToDbaseHere.Whatever = objProducts.Discontinued;

    // add your code here to insert to database
}
Last Words:
So where is the "One Click" feature? The next time you generate code for the same database, maybe because you added a new table in the database or added/removed a field
in an existing table, all you have to do is click the "Generate Code for All Tables" button, that's it. And above all it's absolutely free, no need to register, no pop-ups
asking you to buy the Professional Plus edition, no marketing emails, yup - it's absolutely free.
Happy Coding!
As always, the code and the article are provided "As Is", there is absolutely no warranties. Use at your own risk.